Free Blogger Templates

BTemplates, the best place for Blogger templates since 2008.

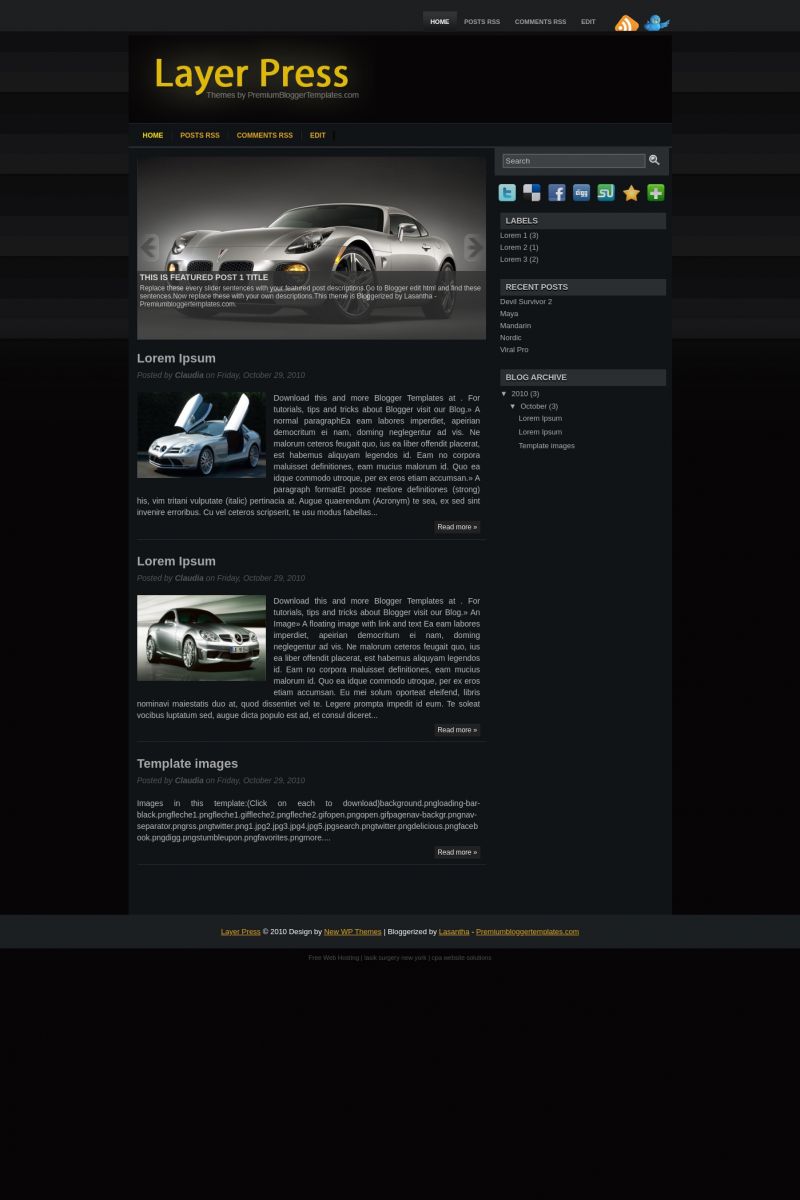
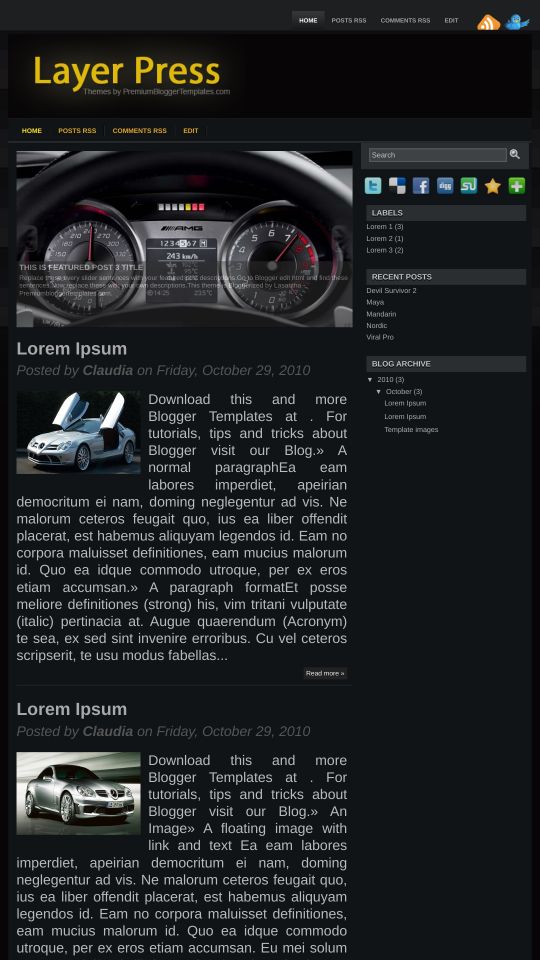
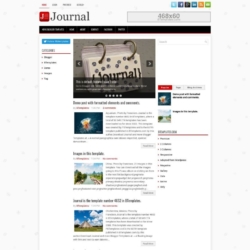
Layer Press Blogger Template

Layer Press

Free Download Live Demo

7,356 Downloads.


Mobile screenshot

Instructions

  1. How to install a Blogger template.

About Layer Press

Layer Press is a free Blogger template adapted from WordPress with 2 columns, magazine-like layout, right sidebar, slider and posts thumbnails.


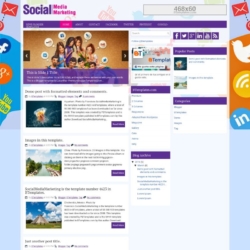
More Magazine Blogger templates:


Credits

Author: PBTemplates.
Designer: .


18 Questions and comments on Layer Press

João Gusttavo 31 October 2010 at 7:36

How do I change the dimensions of images of the post?

↩ Reply
osi 2 November 2010 at 11:51

Recent templates are all the same.

↩ Reply
celeste w 4 November 2010 at 10:51

I like the recent templates but they are not usable. The links for how to change them do not work, you are unable to edit the title. They look good but you are unable to really use them for blogger. Hope the creator gets them fixed.

↩ Reply
Claudia 5 November 2010 at 18:38

@celeste w: You may use any template if you follow specific instructions for any of them. If you do not understand something, you should make a question.

↩ Reply
chris 13 November 2010 at 14:35

love the template, one issue, the twitter and feed button (next to comment rss and edit) at the top appear to be cut off on the bottom end are cut off, is this a quick fix?

↩ Reply
Daz 22 November 2010 at 17:57

I love this template. I do have a question though, When I post a link to the blog to my facebook the description is this –

summary_noimg = 800; summary_img = 650; img_thumb_height = 150; img_thumb_width = 225; //=1) { imgtag = ”; summ = summary_img; } var summary = imgtag + ” + removeHtmlTag(div.innerHTML,summ) + ‘

I’ve been trying to find where to fix it with no luck. Any idea what line(s) I need to be looking at?

↩ Reply
Lou 4 December 2010 at 22:02

I am having trouble replacing the images in the featured section – I keep getting errors or not image. I am using Google Picasa 3 and have tried different formates to replace the current images. Anyone else having this issue or have a solution?

Better instructions?

↩ Reply
Lou 4 December 2010 at 22:05

@Lou:

or NO image

tried different FORMATS of the web link…

↩ Reply
Claudia 5 December 2010 at 10:58

@Lou: Go to Design/Edit HTML and find the following code:

<div class='imageElement'>
<h3>This is featured post 1 title</h3>
<p>Replace these every slider sentences with your featured post descriptions.Go to Blogger edit html and find these sentences.Now replace these with your own descriptions.This theme is Bloggerized by Lasantha - Premiumbloggertemplates.com.</p>
<a class='open' href='SLIDER-1-URL-HERE' title='This is featured post 1'></a>
<img alt='' class='full' src='https://4.bp.blogspot.com/_JUg9QsmKp5s/TMtsT1ig_mI/AAAAAAAAAdQ/ecSABm4-E5E/s000/1.jpg'/>
</div>
<div class='imageElement'>
<h3>This is featured post 2 title</h3>
<p>Replace these every slider sentences with your featured post descriptions.Go to Blogger edit html and find these sentences.Now replace these with your own descriptions.This theme is Bloggerized by Lasantha - Premiumbloggertemplates.com.</p>

<a class='open' href='SLIDER-2-URL-HERE' title='This is featured post 2'></a>
<img alt='' class='full' src='https://3.bp.blogspot.com/_JUg9QsmKp5s/TMtsUfKaKTI/AAAAAAAAAdU/w4RahrJuJNY/s000/2.jpg'/>
</div>
<div class='imageElement'>
<h3>This is featured post 3 title</h3>
<p>Replace these every slider sentences with your featured post descriptions.Go to Blogger edit html and find these sentences.Now replace these with your own descriptions.This theme is Bloggerized by Lasantha - Premiumbloggertemplates.com.</p>
<a class='open' href='SLIDER-3-URL-HERE' title='This is featured post 3'></a>
<img alt='' class='full' src='https://3.bp.blogspot.com/_JUg9QsmKp5s/TMtsUzS0USI/AAAAAAAAAdY/WQelTWErOtU/s000/3.jpg'/>
</div>
<div class='imageElement'>
<h3>This is featured post 4 title</h3>
<p>Replace these every slider sentences with your featured post descriptions.Go to Blogger edit html and find these sentences.Now replace these with your own descriptions.This theme is Bloggerized by Lasantha - Premiumbloggertemplates.com.</p>
<a class='open' href='SLIDER-4-URL-HERE' title='This is featured post 4'></a>

<img alt='' class='full' src='https://4.bp.blogspot.com/_JUg9QsmKp5s/TMtsVVD7ArI/AAAAAAAAAdc/0xf-_UM67fA/s000/4.jpg'/>
</div>
<div class='imageElement'>
<h3>This is featured post 5 title</h3>
<p>Replace these every slider sentences with your featured post descriptions.Go to Blogger edit html and find these sentences.Now replace these with your own descriptions.This theme is Bloggerized by Lasantha - Premiumbloggertemplates.com.</p>
<a class='open' href='SLIDER-5-URL-HERE' title='This is featured post 5'></a>
<img alt='' class='full' src='https://4.bp.blogspot.com/_JUg9QsmKp5s/TMtsV4NHCJI/AAAAAAAAAdk/4997jF4sPds/s000/5.jpg'/>
</div>

Now replace every single URL by the direct link to each new image. Your images must be 610px × 320px.

↩ Reply
Chris 19 December 2010 at 19:29

Hello-

I’m testing this template on my test blog before I implement live. I have a couple of questions that you could perhaps help me with, both centering around the summary functions for the posts.

1. Is there anyway to turn off the summary and page break for individual posts if desired?

2. If not, is there a way for the summary to show the true post, it looks like as currently formatted its removing hyperlinks and formatting of the post (if you visit the url above the post from Nov 12th illustrates this issue).

Any help would be much appreciated.

Thank you,
Chris

↩ Reply
Claudia 20 December 2010 at 0:26

@Chris: Go to Design/Edit HTML -> Expand widget templates and replace:

<div class='post-body entry-content'>

<p><script type='text/javascript'>
summary_noimg = 800;
summary_img = 650;
img_thumb_height = 150;
img_thumb_width = 200;
</script>
<script type='text/javascript'>
//<![CDATA[

function removeHtmlTag(strx,chop){
if(strx.indexOf("<")!=-1)
{
var s = strx.split("<");
for(var i=0;i<s.length;i++){
if(s[i].indexOf(">")!=-1){
s[i] = s[i].substring(s[i].indexOf(">")+1,s[i].length);
}
}
strx =  s.join("");
}
chop = (chop < strx.length-1) ? chop : strx.length-2;
while(strx.charAt(chop-1)!=' ' && strx.indexOf(' ',chop)!=-1) chop++;
strx = strx.substring(0,chop-1);
return strx+'...';
}

function createSummaryAndThumb(pID){
var div = document.getElementById(pID);
var imgtag = "";
var img = div.getElementsByTagName("img");
var summ = summary_noimg;
if(img.length>=1) {
imgtag = '<span style="float:left; padding:0px 10px 5px 0px;"><img src="'+img[0].src+'" width="'+img_thumb_width+'px" height="'+img_thumb_height+'px"/></span>';
summ = summary_img;
}

var summary = imgtag + '<div>' + removeHtmlTag(div.innerHTML,summ) + '</div>';
div.innerHTML = summary;
}

//]]>
</script>
<b:if cond='data:blog.pageType != "static_page"'>
<b:if cond='data:blog.pageType != "item"'>
<div expr:id='"summary" + data:post.id'><data:post.body/></div>
<script type='text/javascript'>createSummaryAndThumb("summary<data:post.id/>");</script>
<span class='rmlink' style='float:left'><a expr:href='data:post.url'><b>Read more »</b></a></span>
</b:if>
</b:if>
<b:if cond='data:blog.pageType == "item"'><data:post.body/></b:if>

<b:if cond='data:blog.pageType == "static_page"'><data:post.body/></b:if></p>

      <div style='clear: both;'/> <!-- clear for photos floats -->
    </div&gt

by:

  <div class='post-body entry-content'>

<p><data:post.body/></p>

      <div style='clear: both;'/> <!-- clear for photos floats -->
    </div>

Save changes.

↩ Reply
Obie 23 December 2010 at 18:37

hi, I love the template so far and i have been tweaking it since i downloaded it. Right beside the header is an “add a gadget” option. When i try to add text or a picture, it is cut off towards the lower right. Is there a way to fix that? Thanks for your help.

↩ Reply
Claudia 25 December 2010 at 16:08

@Obie: Use only the sidebar to add widgets in this template.

↩ Reply
Prince 2 January 2011 at 20:11

I have to problems using the buttons on the side (the ones below the search bar). How can I use them?

↩ Reply
Claudia 4 January 2011 at 8:54

@Prince: This is the code of the buttons:

<div class='custom_images'>
<a class='addthis_button_twitter'><img alt='Twitter' height='32' src='https://3.bp.blogspot.com/_JUg9QsmKp5s/TMtsW3WpDOI/AAAAAAAAAds/Gr5vSsgSY4w/s000/twitter.png' width='32'/></a>
<a class='addthis_button_delicious'><img alt='Delicious' height='32' src='https://1.bp.blogspot.com/_JUg9QsmKp5s/TMtsW6cAS6I/AAAAAAAAAdw/mnKUfwyIx30/s000/delicious.png' width='32'/></a>
<a class='addthis_button_facebook'><img alt='Facebook' height='32' src='https://1.bp.blogspot.com/_JUg9QsmKp5s/TMtsXFCcyXI/AAAAAAAAAd0/aaH6EcC4Boo/s000/facebook.png' width='32'/></a>

<a class='addthis_button_digg'><img alt='Digg' height='32' src='https://1.bp.blogspot.com/_JUg9QsmKp5s/TMtsXfw5b2I/AAAAAAAAAd4/SJtoklM3j58/s000/digg.png' width='32'/></a>
<a class='addthis_button_stumbleupon'><img alt='Stumbleupon' height='32' src='https://4.bp.blogspot.com/_JUg9QsmKp5s/TMtsXpuyLWI/AAAAAAAAAd8/lz995CVb0KA/s000/stumbleupon.png' width='32'/></a>
<a class='addthis_button_favorites'><img alt='Favorites' height='32' src='https://1.bp.blogspot.com/_JUg9QsmKp5s/TMtsX-OvvGI/AAAAAAAAAeA/a3vsYJgIAM4/s000/favorites.png' width='32'/></a>
<a class='addthis_button_more'><img alt='More' height='32' src='https://1.bp.blogspot.com/_JUg9QsmKp5s/TMtsX1SKwZI/AAAAAAAAAeE/ANxy_EgKqjg/s000/more.png' width='32'/></a>
</div>

You must put your links there in this way:

<a class='addthis_button_twitter' href='http://twitter.com/MYTWITTERUSERNAME><img alt='Twitter' height='32' src='https://3.bp.blogspot.com/_JUg9QsmKp5s/TMtsW3WpDOI/AAAAAAAAAds/Gr5vSsgSY4w/s000/twitter.png' width='32'/></a>
↩ Reply
Selahattin 21 January 2011 at 17:32

Hello,
I try this valuable template. My question is; how can I edit the height of slider? Can I put more images by copy&paste related code in class=’imageElement’?
Regards

↩ Reply
Andrew 30 July 2011 at 6:56

How do you change the background image at this template? I’m trying to figure it out but I can’t. Can somebody help me with this? Thanks.

↩ Reply
Andrew 31 July 2011 at 3:10

Ok I figured it out :) Thanks anyway i used body{
background: url(URL HERE) !important;
}

↩ Reply

Leave a Reply to Claudia Cancel reply

Your email address will not be published. Required fields are marked *