Citlali Blogger Template Documentation
After some time, I decided to dust off VIM (my preferred code editor) and continue working on a template I had started a few months ago. Citlali, which means “star” in Nahuatl, is a common female name in Mexico.
Built on the latest version of the Bootstrap framework, Citlali is designed to be simple yet capable of displaying a substantial amount of content on the homepage. The design aims to convey a fresh image while remaining easy to read and compatible with a wide range of screen resolutions. One of the standout features is the inclusion of a dark mode and a toggle switch to select the preferred theme.
Citlali is available in its original CSS version and for Blogger in both a regular version (fully functional) and a Pro version, which offers additional customization features.
Content
Documentation
Template Options
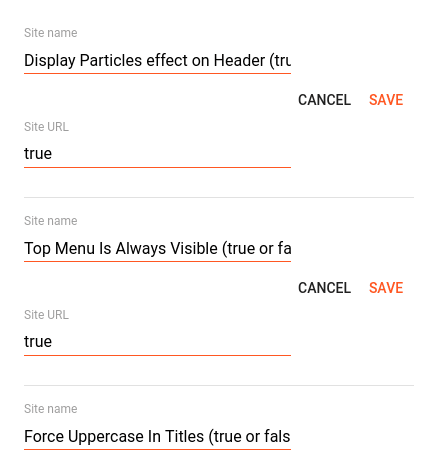
This template includes a small options gadget that allows you to customize certain elements. The available options are:
- Display Particles effect on Header – Toggles the display of white particles floating in the header. In the URL field, enter
trueorfalse. - Top menu always visible (sticky menu) – Choose whether to keep the top menu visible at all times. In the URL field, enter
trueorfalse. - Force uppercase in titles – Converts post titles, sidebar titles, etc., to uppercase. In the URL field, enter
trueorfalse.
Main Drop-Down Menu
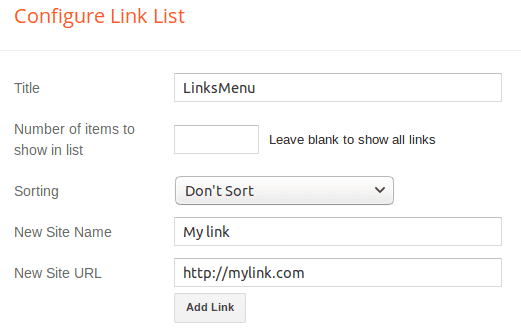
The main menu supports drop-down items and is based on a Link List gadget. To add a regular link (without a sub-menu), simply add it as you would in any Link List gadget.
One Level Drop-Down Menu
To add an item with a one-level drop-down sub-menu:
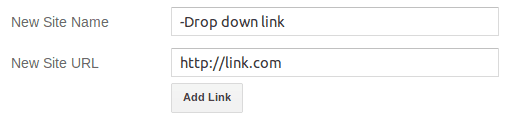
- Create a regular link (the URL is not relevant for this step).
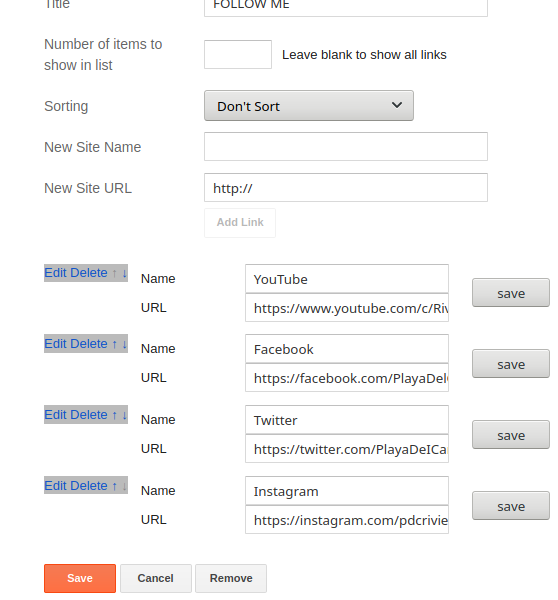
- Create a second link, but add a dash at the beginning of the New Site Name field and include the corresponding URL. This will be the first element of your drop-down menu.
- Add as many elements as needed, ensuring each Site Name begins with a dash.
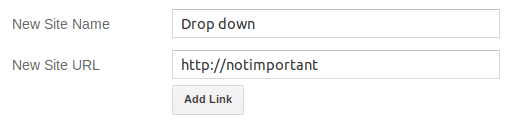
Full gadget example:
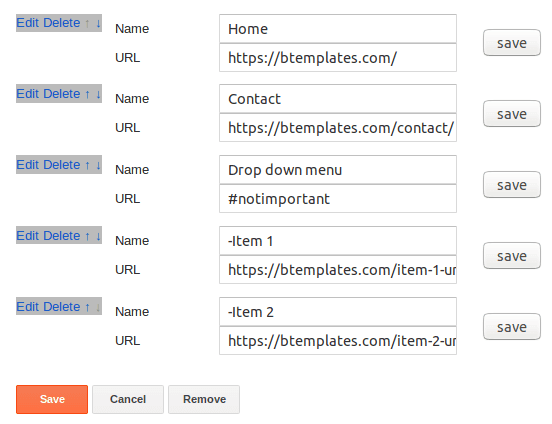
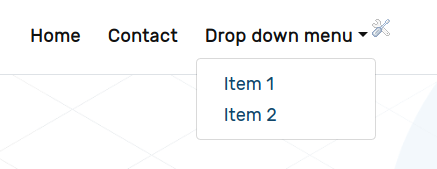
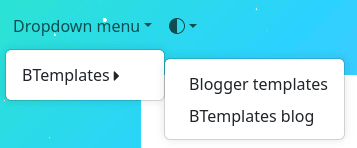
Result:
Two Levels Drop-Down Menu
To add an item with a two-level drop-down sub-menu:
- Create a regular link (the URL is not relevant for this step).
- Create a second link, but add one dash at the beginning of the New Site Name field and include the corresponding URL. This will be the first element of your drop-down menu.
- Create a third link, but this time add two dashes at the beginning of the New Site Name field and include the corresponding URL.
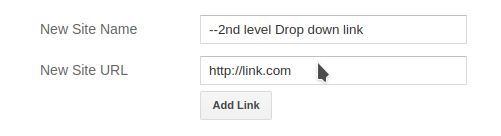
Full gadget example:

Result:
Blog Title or Logo
You can change, delete, or add a logo to your blog by navigating to your Blogger panel, then Layout, and locating the Page Header Gadget. Click on Edit to make changes.
![]()
![]()
You can also edit your blog title and description using this option.
Gadget Descriptions
Most gadgets in Blogger do not allow you to add a text description. However, you can add a description under the title of any gadget by formatting the title as follows:
Title-desc:DescriptionWhere:
Titleis the title you want for the widget.Descriptionis the text description to display under the title.
Example: To add a description to the Follow by Email widget, write the following in the title field:
SUBSCRIBE-desc:Subscribe for Free to get all newest tutorials and lessons.The gadget will look like this:
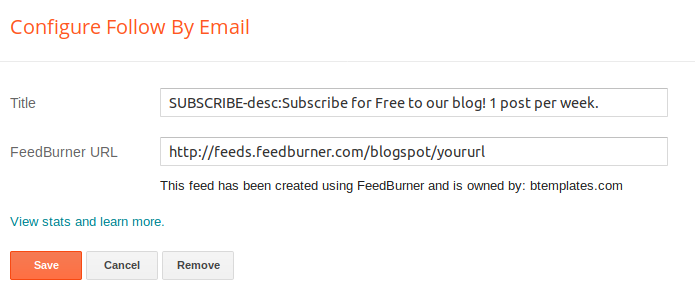
Result:

Note: The email subscription gadget was removed by Blogger, but the description format for gadgets remains the same.
Blockquotes

To display blockquotes correctly within a post, use the HTML mode in the post editor:
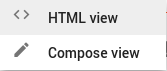
Use the following HTML structure:
<blockquote><p>Content of my quote</p></blockquote> 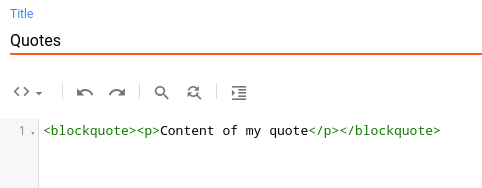
Code
To display code correctly within a post, use the HTML mode in the post editor (see Blockquotes). Use the following HTML structure:
<code><span>This is my code & looks great</span></code>Lists of Posts on Main Page
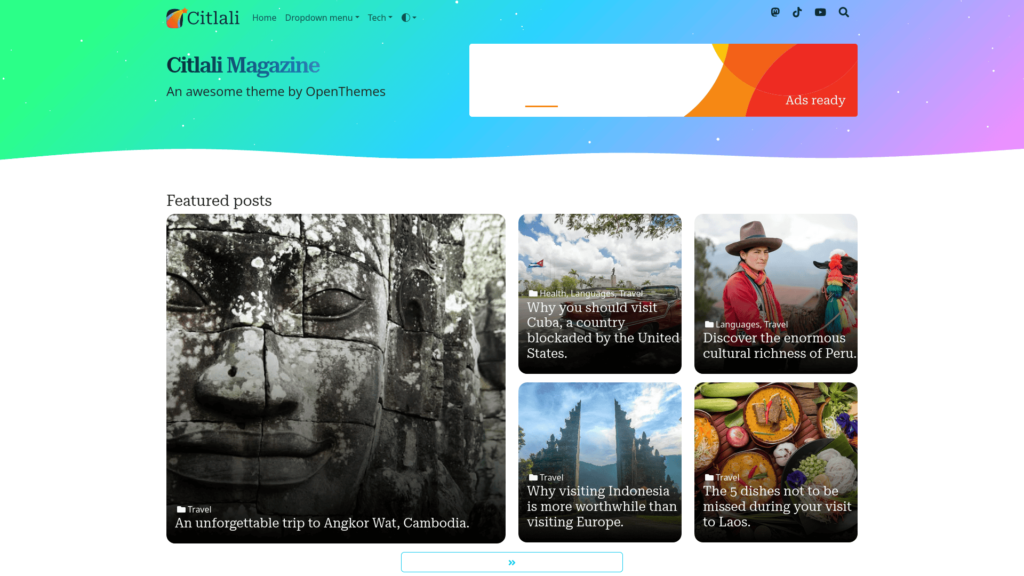
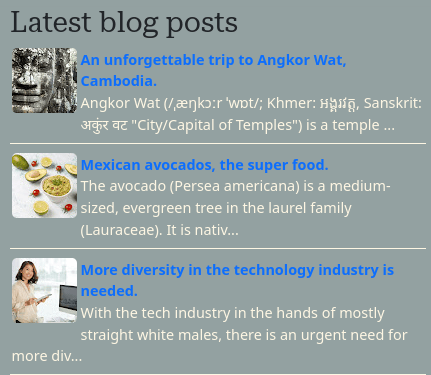
The main page features two sections with lists of posts (in the demo, these are labeled “Featured posts” and “Latest news”) and a slider (labeled “Slider” in the demo). These sections use an HTML gadget and display the latest blog posts by default. However, they can be configured to show posts from specific labels. The content of the HTML gadget must follow this structure:
NumberOfPosts-TypeOfPosts-ThumbnailSize-FormatStyleWhere:
NumberOfPostsis the number of posts to display.TypeOfPostscan be:latestpoststo display the latest blog posts regardless of labels.tag:Labelto display the latest posts from a specific label. Replace “Label” with the exact name of the desired label.
ThumbnailSizeis the size in pixels of the thumbnail image.FormatStylecan be:sliderto display posts as a slider.composition1to display a gallery of posts. This format is used in the “Featured posts” section of the demo. The idealNumberOfPostsvalue is 5, but you can use 9 or 13 for more content.bloglistto display a list of posts, as seen in the “Latest news” section of the demo.
Example 1: To display 5 posts from the “Travel” label in the “Featured posts” section:
5-Tag:Travel-800px-composition1Example 2: To display 5 posts from the “Languages” label in the slider:
5-tag:Languages-800px-sliderExample 3: To display the latest 4 blog posts in the “Latest news” section:
4-latest-400px-bloglistNote: To display the latest blog posts, you do not need to include the tag: prefix.
List of Posts Inside a Post
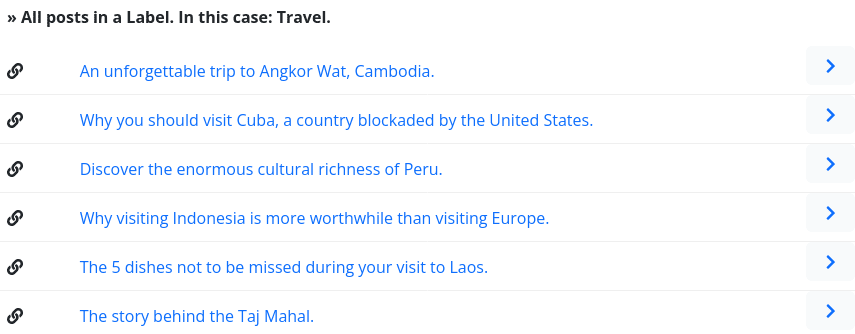
To list posts under a specific label within a post (e.g., to display all content related to an event or person), use the following shortcode:
[posts--tag:Travel--50]This will display the latest 50 posts under the “Travel” label.
Similar to the slider, you can create lists of the latest blog posts or posts from specific labels in the sidebar or footer. To create a new list:
- Go to Blogger/Layout and create a new HTML gadget. Use any title you prefer.
- In the gadget’s content, use the following structure to display the latest blog posts:
3-latest-65pxTo display posts from a specific label, use:
3-tag:Label name-65pxReplace “Label name” with the exact name of the desired label. You can also adjust the number of posts displayed by changing the number “3”.
Labels’ Galleries
Labels’ galleries are available in the Pro version of the template. These galleries use the Labels gadget to display a visually appealing list of labels with preview images. The preview image corresponds to the image of the latest post within that label.
In the demo, this feature is used in the “Sections” section on the homepage and as a gadget in the footer.

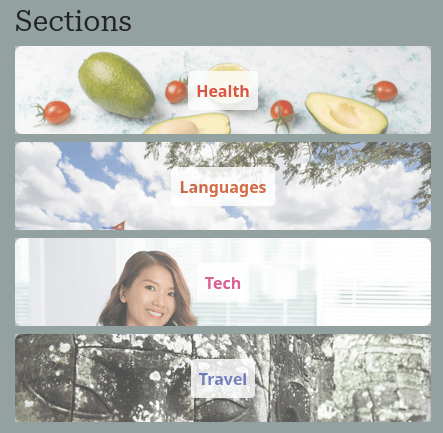
In the free version, the “Sections” section is replaced with an HTML gadget. You can manually create a gallery by editing the HTML code for each element:
<a class="bt-tag" href="URL" alt=""><div class="tag-thumb"><img src="IMAGE URL"></div><h4>NAME</h4></a> ![]()
![]()
You can easily add social icons to the sidebar or footer by editing or creating a Links List gadget. Add your social media links, and they will automatically be displayed as icons.
The same applies to the social icons bar in the header:
![]()
![]()
For Mastodon, which uses various servers and domain names, append ?icon=mastodon to your profile link:
https://fosstodon.org/fcovicente?icon=mastodonLatest Comments Widget
To add a Latest Comments widget, create a new HTML gadget with the following content:
NumberOfComments-commentsWhere NumberOfComments is the number of comments to display. For example, to display the latest 3 comments:
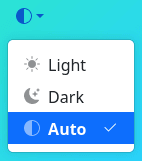
3-commentsDark Mode
Dark mode is available in the Pro version. This feature uses JavaScript to detect the user’s preference for light (default) or dark mode and applies it to the layout. Users can toggle their preference using the switch in the main menu, and their choice will be remembered for future visits.
Related Posts
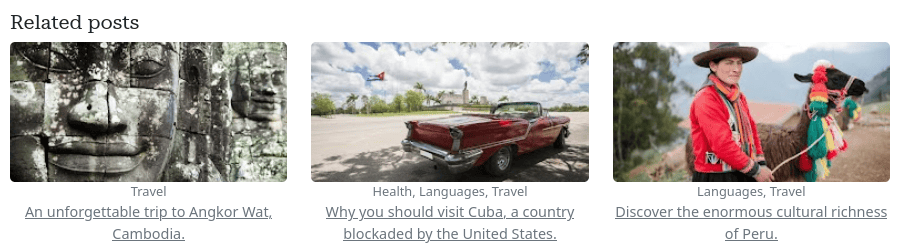
Related posts are available in the Pro version and appear automatically below the post content. These posts are based on the first tag of the post.
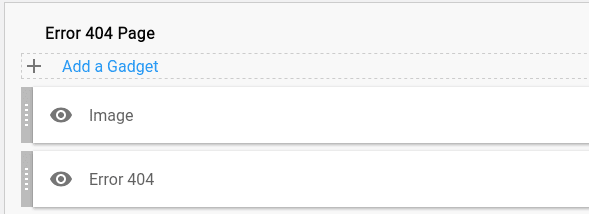
404 Error Page
You can customize the 404 error page from the Blogger panel. Locate the corresponding section in the Design tab, where you will find an image gadget and an HTML gadget.
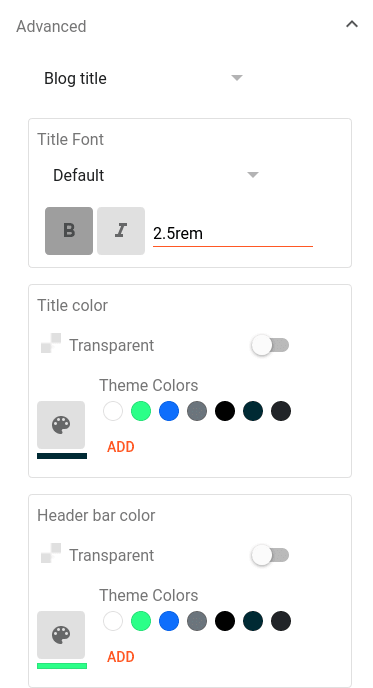
Main Font Family and Colors
To edit the main font family and colors of certain elements, go to Layout in your Blogger dashboard and click on the link to the Theme Designer. Under Adjust widths, you can change the font and colors.
RTL Support
The template offers partial support for RTL (right-to-left) alignment, used in languages like Arabic. To enable RTL support:
- Locate the following line in your template’s code:
- Replace it with:
- Find the following line:
- Replace it with:
<html b:css='false'<html lang="ar" dir="rtl" b:css='false'Here, ar stands for Arabic.
bootstrap.min.cssbootstrap.rtl.min.cssChangelog
- Version 1.0 – 30-01-2023 – Initial release.