After a long time, we have a new free Blogger template called “Mandarin“. Mandarin comes with a lot of features, all of them trying to make it easy for you to use and to personalize and avoiding make look for and change code in the template. Some of the main features are:
En español: Plantilla Blogger: Mandarin.
Download Mandarin
Main Features
– Full responsive
Mandarin uses Bootstrap 4 as CSS framework.
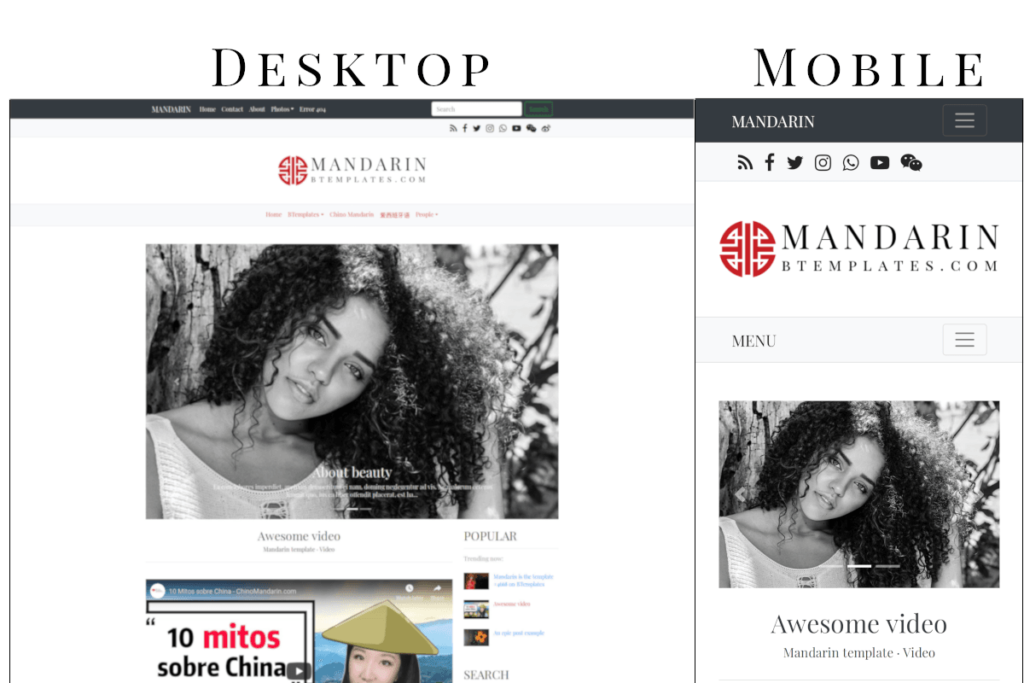
– Display posts anywhere.
Thanks to the Blogger’s feed json api it is very easy to add lists, galleries and even menu items containing your latest post, posts by Label or latest comments.
Responsive drop down menu, slider/carousel and gallery without coding.

Documentation
Enable responsive mobile version.
In order to get advantage of the full responsive version, you need to disable Blogger’s default mobile version, to do it go to Theme, then look for the Mobile version and click on the configuration icon ![]()
![]() . Then choose:
. Then choose:

Templates options
In this template you have a small gadget of Options related with some elements inside the template. These options are:
- Sidebar location. You can choose to display the sidebar on the right (default), on the left or hide it. So, in the URL field you could write: right, left or none.
- Top menu always visible (sticky menu). You can choose to always display the top menu (true) or not (false). In the URL field you could write: true or false.
- Force uppercase in titles. Transform posts titles, sidebar titles, etc to uppercase. In the URL field you could write: true or false.
- Slider height in pixels (number). You can change the maximum height (in pixels) of the slider here. In the URL field you need to write a number.

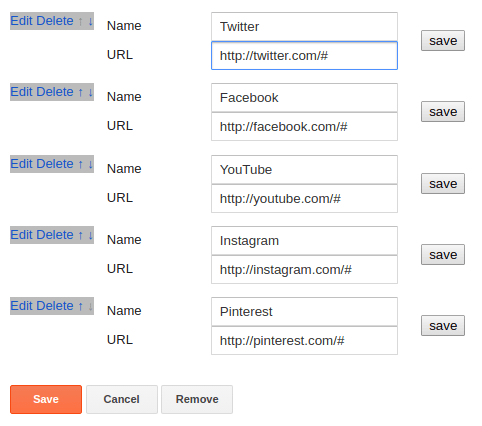
Social media icons.
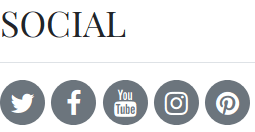
In this template you can add social icons to the top menu, sidebar or footer in a very easy way, you just need to edit or create a Links List gadget and add all your social media links there, then your links are going to be transformed in icons automatically.
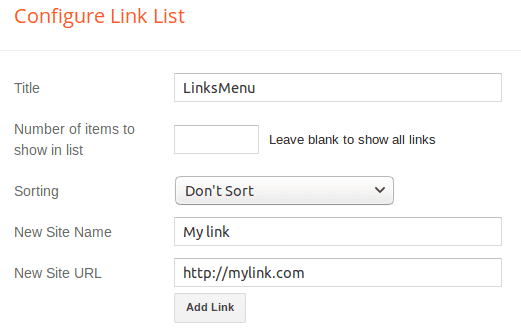
Drop down Menu.
This template has 2 navigation bars that work as drop down menus. Both of them use an Links List widget. To add a normal link to the menu, you just need to add a link to the list as usual:
To add a menu item with ONE level drop down sub items:
1. Crate a link, the URL is not important.
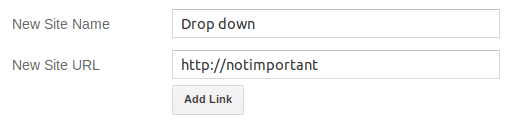
2. Create a second link, but add a dash at the beginning of the New Site Name field, this time the URL is relevant. This is going to be the first element of the drop down menu.
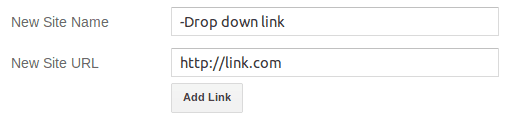
3. Add as many element as you need, but remember to add the dash at the beginning of each Site Name.
For example, this list:
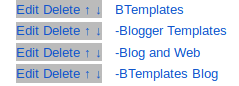
Will result on the next menu:
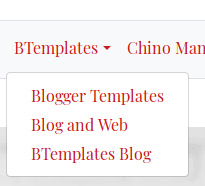
To add a menu item with TWO levels drop down sub items: 1. Crate a regular link, in this case the URL is not relevant.
2. Create a second link, but add ONE dash at the beginning of the New Site Name field and the correspondent URL. This is going to be the first element of your drop down menu.
3. Create a third link, but this time add TWO dash at the beginning of the New Site Name field and the correspondent URL. 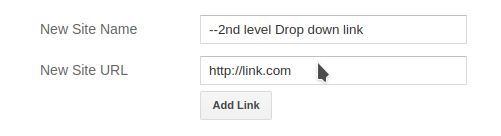 Full gadget example:
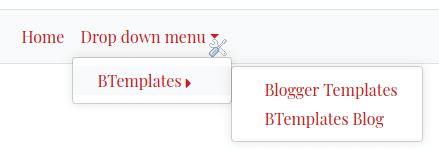
  Result:
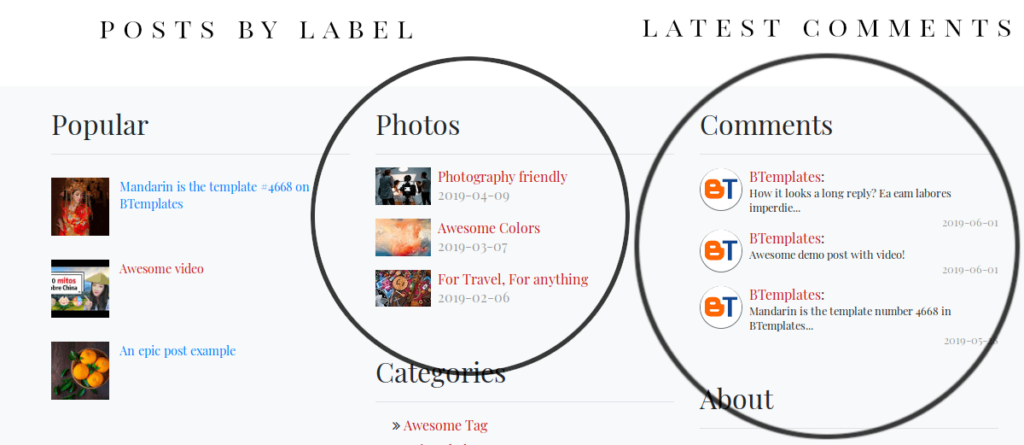
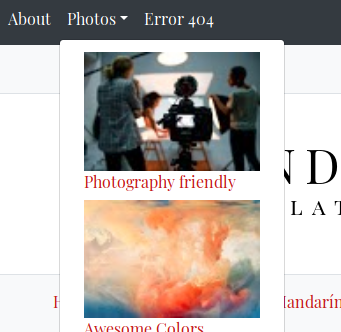
If you want to add a list of posts with a specific Label, add a new link following the next format:
tag:TagName-NumberOfPost-DisplayImageExample: To show 5 posts from the label called ‘Photos’ with thumbnail, you should write:
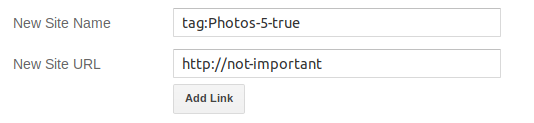
The result is going to be something like:
Slider / carousel
You can modify/add a slider simply with a HTML widget. Simple add/modify a HTML widget with the next content:
NumberOfPosts-PostsType-ThumbnailSize-DisplayStyle
Where:
- NumberOfPosts is the quantity of posts you want to display.
- PostsType can be either:
- latestposts – To show the latest posts, regardless of the label.
- tag:LabelName – To show the latest posts in a specific Label, where LabelName is the name of the label, written exactly as appears in your posts.
- ThumbnailSize – Is the size in pixel of the image.
- DisplayStyle – It can be:
- slider – To show an slider.
- list – To show a list of posts. Ideal for the sidebar or the columns in the footer.
- mosaic – To show as a gallery. Note that the NumberOfPosts must be a multiple of 4.
For example, to set a Slider with 5 posts, using the latest published entries, image size of 1110px your HTML widget should have the next content:
5-latestposts-1110px-slider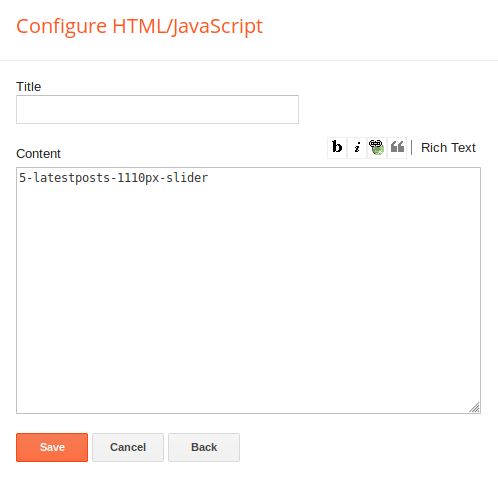
The same example, but using the posts in a label called ‘People around the world’ would be:
5-tag:People around the world-1110px-slider
You can also change the slider maximum height. See: Theme options.
Lists of posts: latest or by label.
To display the latest posts in your blog or the latest blog in a specific label, you just to add a new HTML widget in the place you want to show it and use the next format:
NumberOfPosts-PostsType-ThumbnailSize-DisplayStyle
Where:
- NumberOfPosts is the quantity of posts you want to display.
- PostsType can be either:
- latestposts – To show the latest posts, regardless of the label.
- tag:LabelName – To show the latest posts in a specific Label, where LabelName is the name of the label, written exactly as appears in your posts.
- ThumbnailSize – Is the size in pixel of the image.
- DisplayStyle – It can be:
- slider – To show an slider.
- list – To show a list of posts. Ideal for the sidebar or the columns in the footer.
- mosaic – To show as a gallery. Note that the NumberOfPosts must be a multiple of 4.
For example: To show a list of 8 posts, labeled ‘My Recipes’ and a 75px width thumbnail, you should add a HTML widget with the next content:
8-tag:My Recipes-75px-list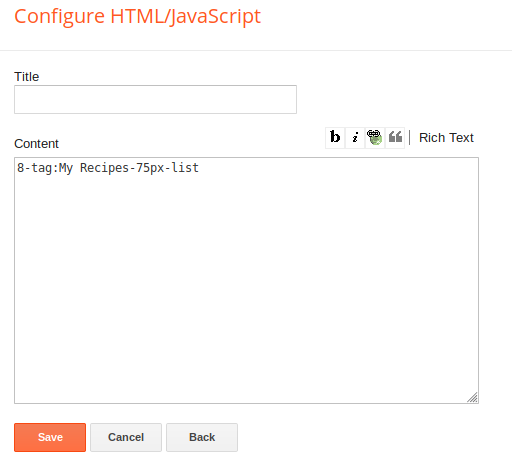
Posts gallery.
To edit the gallery widget or add a new one, you have to follow the same process as the slider or the lists of posts, modify/add a HTML widget using the format:
NumberOfPosts-PostsType-ThumbnailSize-DisplayStyle
Where:
- NumberOfPosts is the quantity of posts you want to display.
- PostsType can be either:
- latestposts – To show the latest posts, regardless of the label.
- tag:LabelName – To show the latest posts in a specific Label, where LabelName is the name of the label, written exactly as appears in your posts.
- ThumbnailSize – Is the size in pixel of the image.
- DisplayStyle – It can be:
- slider – To show an slider.
- list – To show a list of posts. Ideal for the sidebar or the columns in the footer.
- mosaic – To show as a gallery. Note that the NumberOfPosts must be a multiple of 4.
For example, to display a gallery of 8 posts (which is a multiple of 4), with image size of 500px and labeled ‘Portfolio’, the format would be:
8-tag:Portfolio-500px-mosaic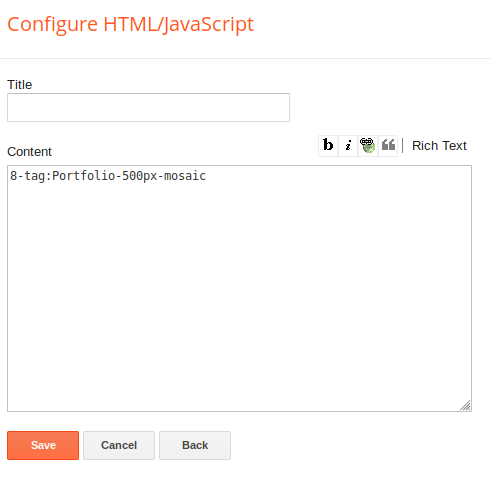
Widget descriptions.
Most widgets in Blogger don’t allow you to add a text description on them, but sometimes a description is very useful. To add a text description under the title of any widget, change the title of the widget following this format:
Title-desc:DescriptionWhere:
- Title – Is the title you want for this widget.
- Description – Is the text description to display under the title.
Example: The Follow by Email widgets don’t have a field to add a description, to add one, we can write the following in the title field:
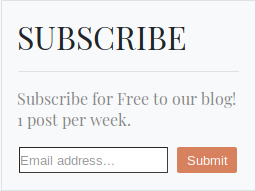
SUBSCRIBE-desc:Subscribe for Free to our blog! 1 post per week.The widget would look like:
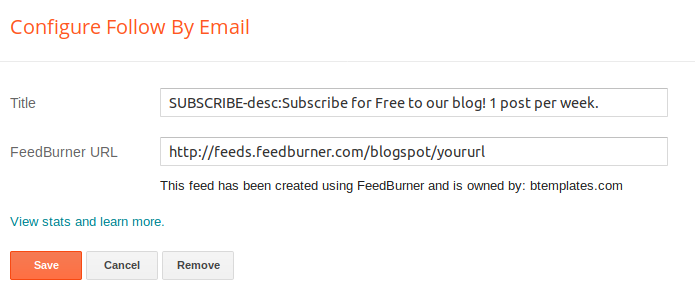
And the result is like:
Latest comments widget.
To add a Latest comments widget you just need to add a new HTML widget with the content following this format:
NumberOfComments-commentsWhere:
NumberOfComments is the number of comments you want to display.
Example, to add a list with the latest 3 comments the content in the HTML widget would be:
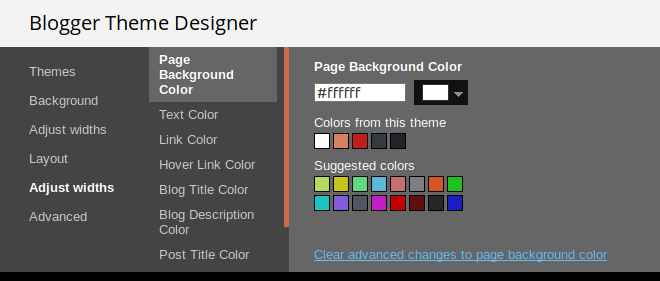
3-commentsMain font family and colors.
To edit the current main font family (Playfair Display) and the color of some of the elements in the template, in your Blogger dashboard go to Layout, the look for the link to the Theme Designer. Once there, go to Adjust widths, here you can change the font and some colors.
Feedback
If you have any feedback or question about this template, please a comment in the respective template download page.
Changelog
- Version 1.0.5 – 20-12-2022 – Added social icons for Tiktok and Mastodon on Pro version. Minor Javascript bug fixed due to format change in image URLs.
- Version 1.0.4 – 19-02-2022 – Scripts fixed due to format change in image URLs
- Version 1.0.3 – 16-03-2021 – Fixed bug on dropdown menu when showing a second level item.
- Version 1.0.2 – Added a Pro version. Added third level of item in drop down menu. Added a theme options gadget. 404 error page now works with gadgets. Updated javascript plugins.
- Version 1.0.1 – Minor JavaScript fixes.
- Version 1.0 – Initial release.
License
This template is under a Creative Commons Attribution-NonCommercial-NoDerivatives 4.0 International license.