Want to remove that “Powered by Blogger” footer or clean up clutter from your blog? This guide shows you how to hide any element using your browser’s built-in tools—no coding experience needed. You’ll learn to find the element’s unique CSS selector and hide it with a single line of CSS.
Step 1: Get the CSS Selector
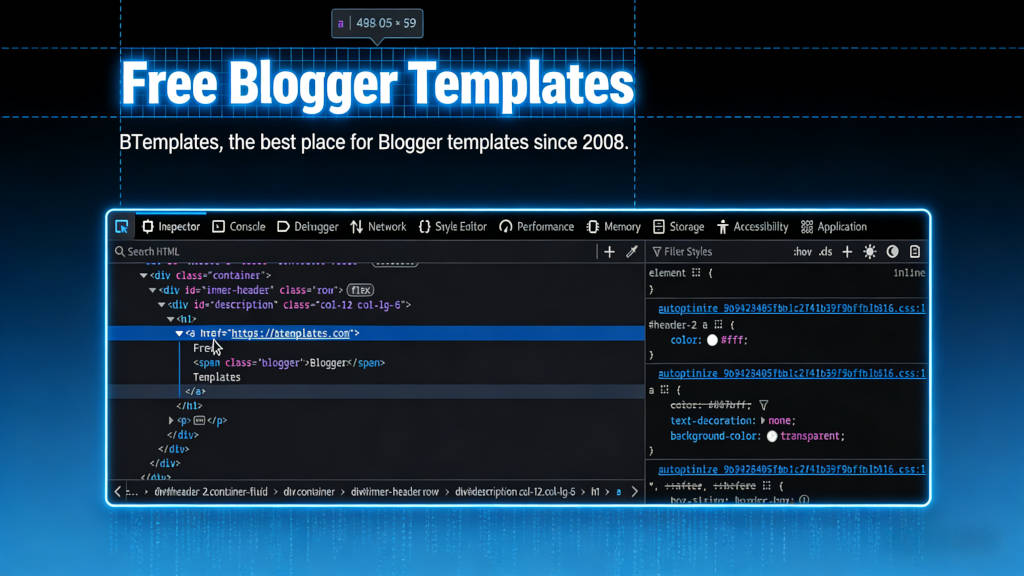
Right-click the element on your blog (like the “Powered by Blogger” footer) and select Inspect.
In the DevTools panel, right-click the highlighted HTML line and choose Copy → Copy CSS selector (Chrome) or Copy → CSS Selector (Firefox).
This gives you a ready-made selector like #Attribution1 or #HTML3. Prefer selectors that start with # (IDs) because they don’t break when you move widgets around.
Step 2: Add the Hide Rule
Go to Theme → Customize → Advanced → Add CSS.
Paste your selector and add { display: none !important; }, example:
#Attribution1 {
  display: none !important;
}
Click Apply to Blog and refresh. The element is now hidden.
Examples
/* Hide the navbar */
#navbar { display: none !important; }

/* Hide a specific gadget */
#HTML3 { display: none !important; }

/* Hide post labels (class example) */
.post-labels { display: none !important; }
Quick Tips
- Backup your template before editing
- Clear browser cache if changes don’t appear
- Use
#for IDs (most reliable),.for classes - Add
!importantto override other styles
That’s it—two clicks to get the selector, one line of CSS to hide it.