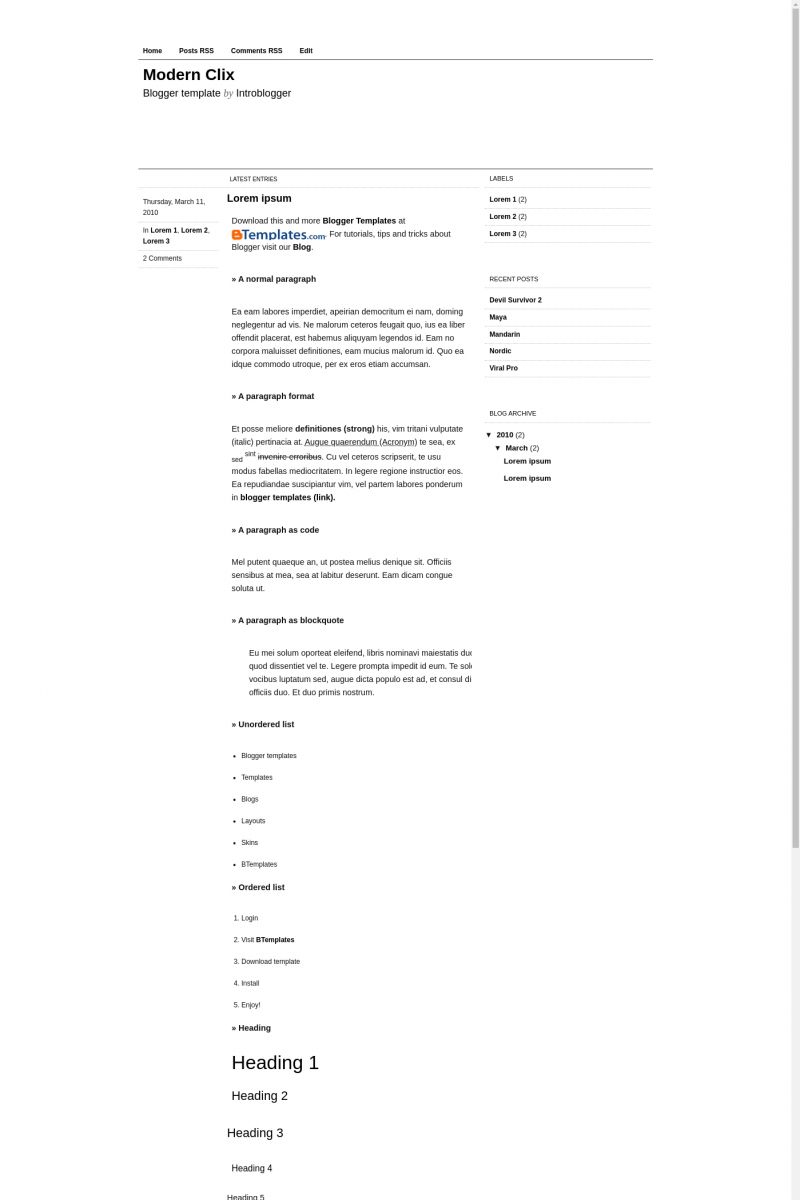
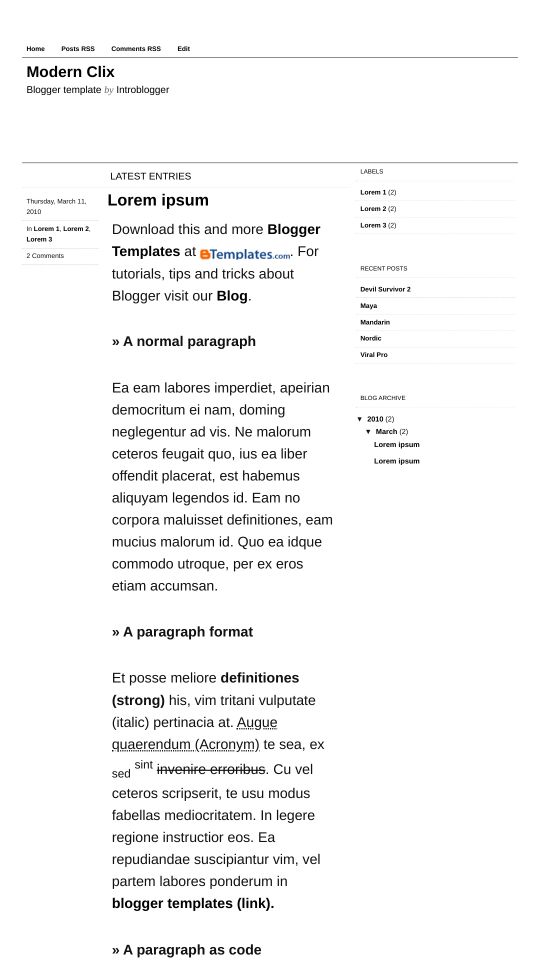
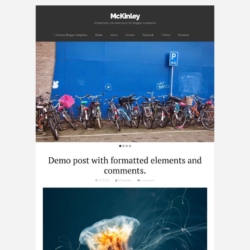
Modern Clix Blogger Template
⚠️ This template does not have a responsive design.
Instructions
About Modern Clix
Introducing Modern Clix, a free Blogger template originally designed for WordPress featuring 2 columns, right sidebar, minimalist design and simplified layout
More Minimalist Blogger templates:


Credits
Author: Blogger Bits.
Designer: Rodrigo Galindez.
Earl 29 June 2010 at 4:25
I like this!
kurniawan 7 July 2010 at 15:30
i like this template very fast to load and easy to use. thank’s a lot
Terrick 22 July 2010 at 8:11
Best minimalist template so far~ loving it so much~
BECCA 25 July 2010 at 5:33
How do you add an image as the title page? help please, thanks
Claudia 25 July 2010 at 16:55
@BECCA: Go to Design/Edit HTML and find:
Replace it by:
It must be 900px x 190px.
Bam 11 August 2010 at 21:29
thanks for the template.. love it ..:D
Ariadna 14 September 2010 at 14:56
@Claudia:
hey, thanks for the info, but I just do it and my image appear too small and I still seeing the modern clix header…:( can u help me?
Karen 16 September 2010 at 6:39
Does anyone know how to remove the label from the post footer?
Claudia 17 September 2010 at 17:33
@Ariadna: If you are trying to change the header background, your image must be 900px x 190px. Please, leave your blog URL when you comment.
Talín 7 December 2010 at 8:11
Hello Claudia.
Please can you help me whit the following points:
1) The distance between the “Navigation Menu” and the top of the blog is to big. I would like to reduce it a little bit. How should I do?
2) I would like when you click on the number of comments, that it bring me automatically (via Link ) to the comments Box. How should I do?
Thank you very much and Regards
Talín
Claudia 8 December 2010 at 15:51
@Talín:
1) Go to Design/Edit HTML, and find the following code:
Save changes.
Change the “19” to a lower value.
2) Go to Design/Edit HTML/Expand widget templates and find:
Replace it by:
Save changes.
Does it work?
Talín 9 December 2010 at 2:31
Hello Claudia, thank you but there are some problems:
1) I find the code and change 19 to a lover value, but the distance to the top remain the same. This chage, reduce only the space betwen the 2 lines, i.e. the space of the header. I want to reduce the space of the TOP of the blog.
2) I have find the code and replace it, but I get the folloging error:
The element type “p” must be terminated by the matching end-tag”
Please help. This is the URL of my Blog, it is only a draf (talinbrezmes3.blogspot.com/).
Thank you and regards – Talín
Claudia 9 December 2010 at 7:02
@Talín: Regarding the 2nd point, you must be very careful with the end tags, because the codes I posted are right. I’ll check the 1st point later.
Talín 9 December 2010 at 8:02
Sorry Claudia but have check the 2nd point several times and the result are the same. It dos NOT work!
Claudia 9 December 2010 at 9:52
@Talín: OK, It’ll work this time.
For the 1st point, reduce the “19em” to “10em” or something so.
For the 2nd point, in Design/Edit HTML/Expand widget templates, replace:
by:
Talín 9 December 2010 at 10:01
Thank!!
Point 2, OK!!
But point 1, muss be another part to reduce, becuse do not work.
Claudia 9 December 2010 at 15:07
@Talín: I tried ina demo template, and it worked for me.
Taln 9 December 2010 at 15:41
Claudia, I have reduce to 10, und you can see the result in my draft blog (talinbrezmes3.blogspot.com/). Now you can see only a part of my image.
Please help.
Claudia 9 December 2010 at 17:02
@Taln: Oh, I undertood: you want to reduce the distance above the header. Then modify the following code:
Change the “8em” to a lower value (for example, “3em”)
Talín 10 December 2010 at 1:01
Great, fantastic!!!! Thank you very much Claudia. Sorry for my bad and poor English, I think this was the big Problem.
Regards – Talín
Talín 13 December 2010 at 4:22
Claudia, hello again
One more thing: If you publish two or more posts in the same day, only one date appears. How I can do to bring up to date on all posts?
Thank you
Regards
Claudia 13 December 2010 at 13:18
@Talín: Go to Design/Edit HTML, click on “Expand widget templates” and find the following code:
Replace it by:
Now save changes.
Talín 14 December 2010 at 2:19
PERFECT!!! Thank you Claudia.
Ryan 8 January 2011 at 3:54
@Claudia:
is it possible to add the name of the user who posted here as well?
Claudia 10 January 2011 at 11:55
@Ryan: Go to Design/Edit HTML, click on “Expand widget templates” and find the following code:
add the following exactly under that code:
Save changes.
Ryan 10 January 2011 at 23:55
@Claudia: thanks very much! I would also like it if clicking on the number of comments brought you to that post’s permalink so you could see all the comments.
I also wonder if you can change the template of a “page” as apposed to a “post” so that the side bars aren’t present.
Are these things possible? Thanks again for your help.
Andrew 15 January 2011 at 12:09
Hello,
How do I change the header size? And how do I change the blog width.
Thanks
Andrew
Ryan 24 January 2011 at 2:56
@Claudia: Hi claudia. Let me rephrase my question.
I tried your script you recommended to link the number of comments text to a page where you can leave a comment. It doesn’t appear to work for me. Any help is much appreciated thanks very much for answering my prior question.
fullyfitted.blogspot.com is the blog I am working on. Thanks again.
Claudia 25 January 2011 at 11:59
@Ryan: In Design/Edit HTML/Expand widget templates, find:
Now replace it by:
Maria Cristina Debenedetti 28 January 2011 at 9:59
Hello, now I’m using Tequilas Flemantes but I would like to change to this template. Before changing I would like to know if it is possible to have bigger width dimensione for images and how do that
Thnks
Claudia 29 January 2011 at 12:04
@Maria Cristina Debenedetti You can find the answer to your questions and more in our FAQ section.
ben 7 February 2011 at 9:29
can i add widget in header like search box
montse 22 February 2011 at 10:11
Hi Claudia,
I imported this template after creating my blog url and I think I’m having some problems with it…for example, I don´t know how to move the header/title, it appears down on the right side of the blog.
Andrea 14 May 2011 at 22:20
I’m really embarrassed to ask this question, but I’m unsure where exactly to add the text to my other pages (About, Contact, Projects)?
sarah 5 June 2011 at 12:33
Great theme – thank you!
IM 4 August 2011 at 5:58
Dear Claudia,
Thank you for the really nice template.
I would like to add their some more pages (not just the main page, but tabs). Could you please help with the coding?
Thank you in advacne!
Shinobi Blog 26 August 2011 at 17:13
cool n’ simple …
thank’s for share ..
Thomas Squire 21 November 2011 at 12:08
i am currently using this theme for a blog i update with work for university, i need my posts to show the time in which they were posted, i can’t seem to find it in the code, any suggestions on how i can do this?
thank you in advance
Thomas Squire 21 November 2011 at 12:32
@Claudia:
if you could get back to me as soon as possible that would be fantastic
christian 20 January 2012 at 11:06
Hey there, can anyone tell me how to add a link to my header background image.
Thanks
meoht 13 August 2012 at 11:14
Hello, how do i change the width of main bar where are the images and so, i can’t change it and on FAQ i can’t find the help.
I need to put a search box on the header and can’t do that as well. thanks