Solenca Blogger Template
Instructions
About Solenca
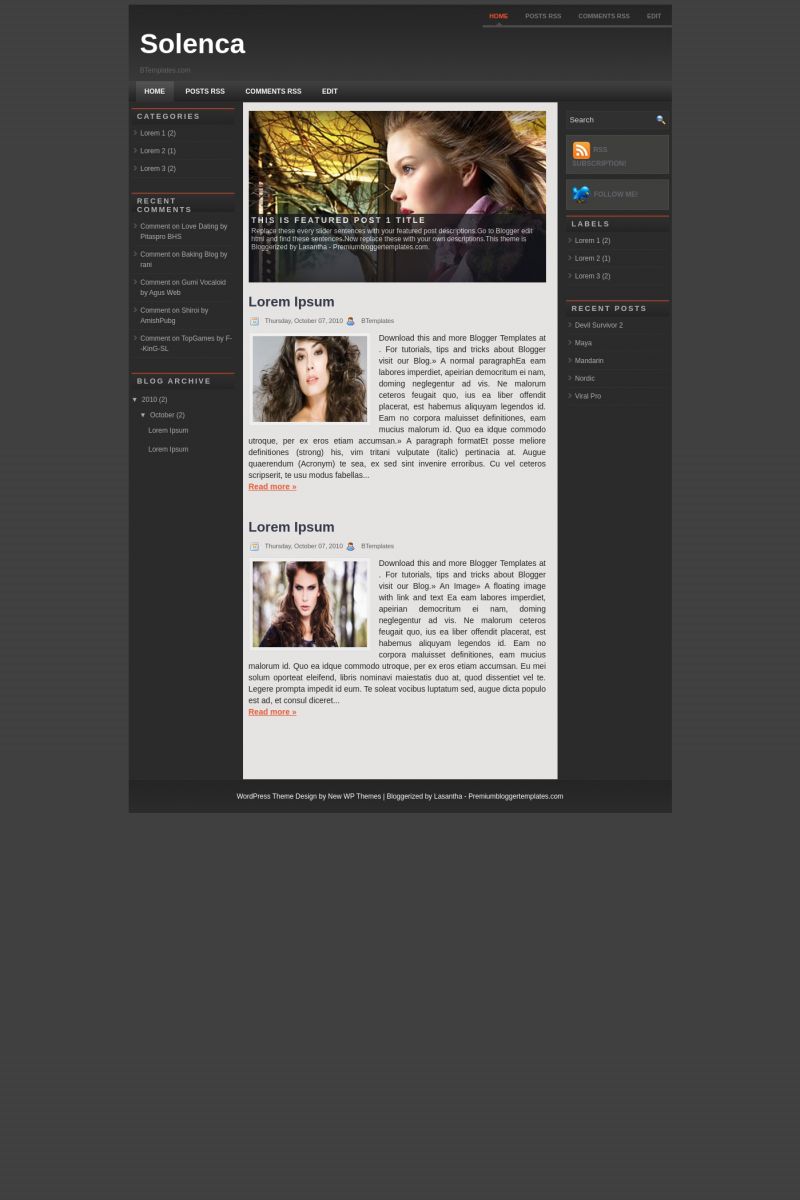
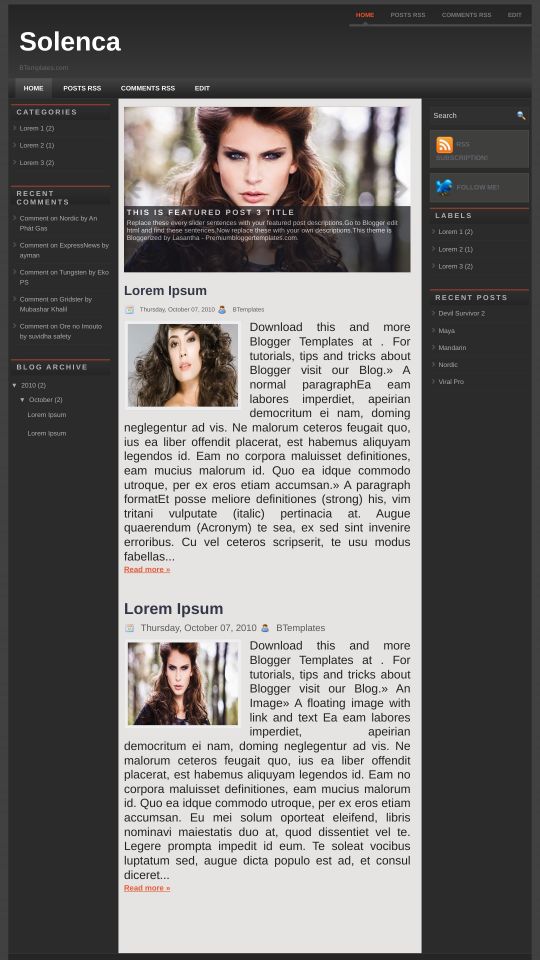
Introducing Solenca, a free Blogger template originally designed for WordPress featuring 3 columns, magazine-style layout, dual sidebars, ad-ready spaces, image slider and post thumbnails
More Magazine Blogger templates:
Credits
Author: PBTemplates.
Designer: New WP Themes.


Luis 22 October 2010 at 15:58
Hi. Just a simple question here. How can I change the background color for the posts and pages? I want to change the light-gray color for another one, but cannot find the code. I’ll really appreciate your answer.
Nice templates here.
Claudia 22 October 2010 at 16:27
@Luis: You mst download the following image to your computer:
Now, edit in in your photo editor, host in in your image hosting and replace it in your xml template (in Design/Edit HTML).
Luis 22 October 2010 at 17:41
Oh Claudia. I love you!!! I was hitting my head against the wall, because I was looking for a color code and not an image haha. I’m so happy now, thank you very much girl…
Marisol 22 October 2010 at 23:22
I thought I had found the insole of my dreams, but these photos ………….
can be removed!
there will be another design like this one, but without those pictures?
Francisco 22 October 2010 at 23:32
@Marisol: Las fotos pueden reemplazarse por las que tu gustes, das clic sobre la foto “ver imagen” y buscas la URL o dirección de la imagen en el código de la plantilla y la reemplazas con la URL de tu imagen.
Marisol 22 October 2010 at 23:40
ok, pero, que me dices de la letras que salen debajo de la fotos, tambien puedo remplazarlas!!, realemente, me gustó el diseño, esta muy hermoso!,
Francisco 22 October 2010 at 23:55
@Marisol: En cierta forma, casi todo es reemplazable, prueba buscando lo que quieras reemplazar directamente en el código de la plantilla ;)
Claudia 23 October 2010 at 11:29
@Marisol: Por favor, revisa el “Setup Guide” que aparece en el paquete que descargaste. Puedes reemplazar tanto las fotos como el texto que las acompaña.
Alexander 23 October 2010 at 22:40
Hola!
como agrego las url de mi menu el codigo que hay que tocar es este verdad
Home
Quienes somos
Links
F.A.Q
donde irian las url de lo que seria mi menu :S y que pasa si quito todas esas imagenes, el diseño esta muy bien y me gusta, personalmente le quitaria esas imagenes :s
Alexander 23 October 2010 at 22:41
no salio el codigo?? :S
Jethro Wong 25 October 2010 at 11:20
Hi, I have a question. How can I change the limitation of the post ? Apparently, your “Read More..” setting is at nearly 90% of my post. How can I make it shorter ?
Marisol 25 October 2010 at 14:09
Hola!! también quiisiera saber, si puedo hacer que en lugar de seguir leyendo, “Read more” aparezca toda la entrada al 100% y no solo una parte^^, esque la hace chica y la enzancha^^
por favor como modificvo eso en la plantilla^^ ya cambie las imagenes y el texto, son geniales gracis
chuckie 26 October 2010 at 7:10
hi! i used your template in my blogspot account apparently, i can’t see my followers in the followers section… how will i make it appear… need answer,,,thanks much!
chuckie 26 October 2010 at 7:15
hi… another question…whenever i click the follow me link in the left side… why is it that it doesn’t go to my twitter account. what shoulc i do with it?
Claudia 27 October 2010 at 15:26
Hi Claudia,
I too, like Jethro Wong, would like to know how I can either shorten the preview of my posts as it pretty much shows up all of my post, or even remove the “read more” option please.
Thanks,
Claudia
Claudia 27 October 2010 at 21:55
@chuckie: Go to Design/Edit HTML and find this code:
You must replace the word “USERNAME” by your Twitter username ;).
Claudia 28 October 2010 at 22:11
@Claudia: Go to Design/Edit HTML -> Expand widget templates and replace:
by:
Save changes.
Lucero 10 November 2010 at 10:02
ho! bueno y ese codigo al ultimo de que dices que es?
ja! lo acabo de aplicar en mi blog.. y si necesitare ayuda ja !! pero cre que ya se me estan solucionando los porblemas. muchas gracias claudia! si me atoro en algo te digo si? jaaj a ver si e puedes ayudar..
bueno a ti tambien francisco si?
jjaaj
saludos a todos.
Lushy
paket tour kiluan 20 April 2015 at 5:02
What’s up, yeah this paragraph is actually good and I have learned lot of
things from it regarding blogging. thanks.
undangan nikah murah 7 June 2015 at 3:02
Hi colleagues, pleasant article and pleasant urging commented here, I am truly enjoying by these.
lantai kayu solid 7 June 2015 at 19:25
I’ve read several excellent stuff here. Certainly worth bookmarking for revisiting.
I wonder how a lot effort you place to create one of these fantastic informative website.
Alan 28 May 2016 at 22:45
Hola Claudia.
Por favor dígame como puedo transformar este menú en submenus le agradezco.
Se tiene que hacer algo en css o solo en html.
Ayúdeme.