Vector Art Blogger Template
Instructions
About Vector Art
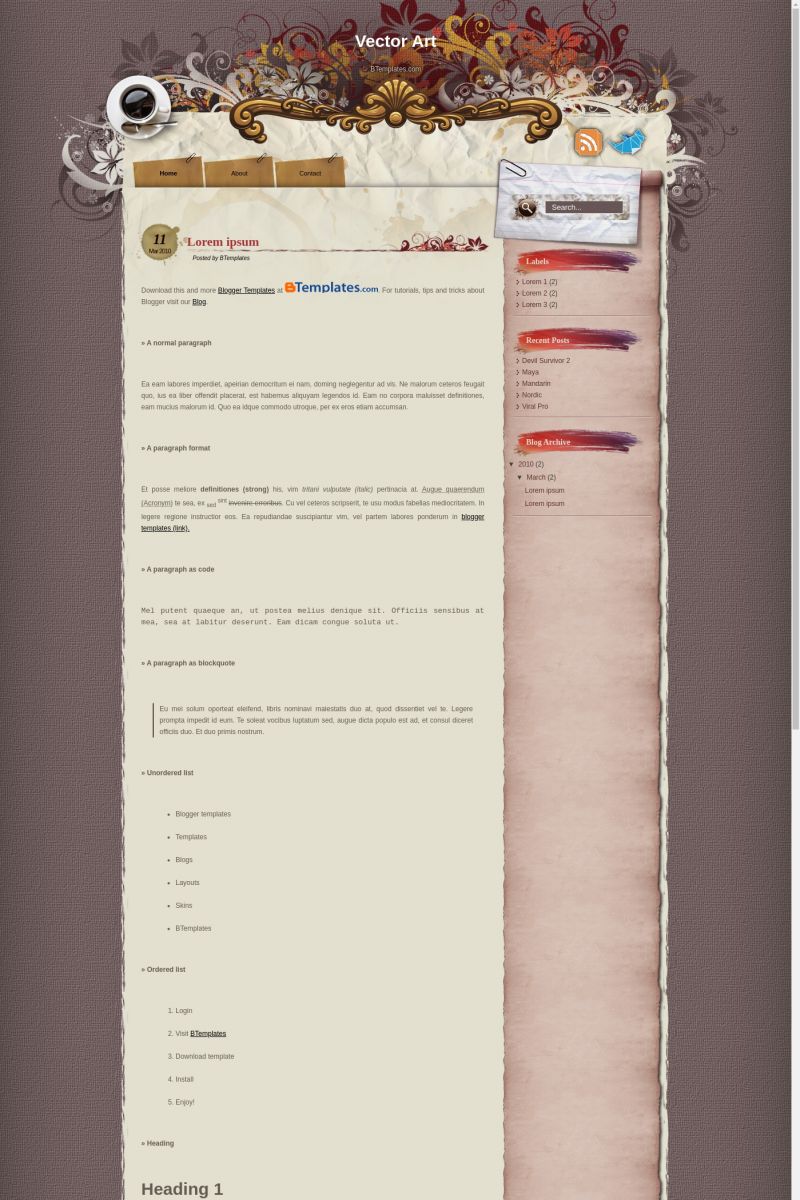
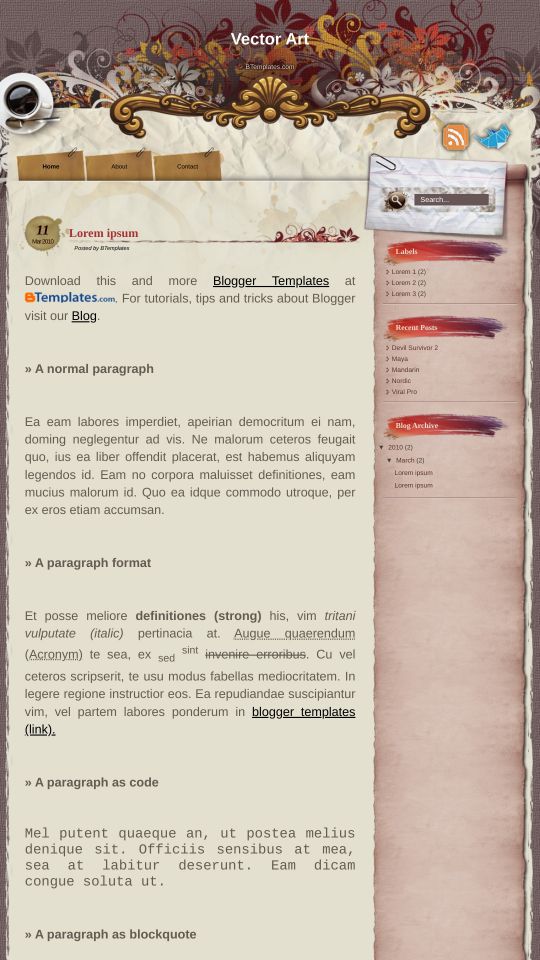
Introducing Vector Art, a free Blogger template originally designed for WordPress featuring 2 columns, right sidebar, grunge styling, floral accents, vector graphics and vintage aesthetic
More Adapted from WordPress Blogger templates:
Credits
Author: Anshul.
Designer: TemplateLite.
Klodian 5 June 2010 at 8:03
Another one, which I recommend to consider
Vector Art
font and colors can be customized from blogger dashboard
Fitri Nur Aprianti 6 June 2010 at 8:04
mana kodenya
tolong donk saya dah jatuh cinta ma template ini
William Nagase 7 June 2010 at 11:19
Lagal hemm muito bom este Design
chota guru 7 June 2010 at 12:44
Nice Template….. I will use this sure…Thanks
robin 10 June 2010 at 9:49
thank for your templete,,,,
nice templete…
Lois 12 June 2010 at 1:52
Nice layout, but where is the sign in/sign out button located?? Will look for a better layout, as this seems to be missing some elements.
amyvjames 17 June 2010 at 1:23
hi..i love it. But could the header and contents on the side bar could be arrange to the middle?
Barbara 21 June 2010 at 13:26
Grazie è veramente uno splendido template!
Fitri Nur Aprianti 23 June 2010 at 22:57
I want a code…please
danang 15 July 2010 at 12:28
Great template! but i get frustrated on how to add menu bar like yours. When I copy paste the code the lay out result doesn’t look like with live demo version. Could you tell me please how to add new menu element such us contact, about, etc also changing icon “follow me” (twitter) into icon “become fans” (facebook)
Thanks.
Claudia 15 July 2010 at 19:10
@danang: This template supports “pages” Blogger feature which means that your pages are automatically displayed in the menu bar; so, If you want to add more tabs in your menu bar, you need to create new pages from Posting/Edit Pages.
To set up twitter and RSS icons with your own URLs, find this code in Design/Edit HTML:
If you want to replace those icons, you must find this code and replace the background images by the direct links to your new icons.
Medusa 18 July 2010 at 11:05
Hola Claudia,
Lei tu comentario anterior donde sas algunas instrucciones para aumentar Social Icons con propio URl; hice paso pero definitivamente estoy perdida y quisiera que des algunas pautas. Aqui te incluyo que es lo q tiene la plantilla y mi url, como es que funcin=na esto? Que pego con que?…Que clases me recomiendas para tener una idea basica de HTML?
Plantilla:
RSS
original feed: http://justatasteofme.blogspot.com/feeds/posts/default?alt=rss
feed address: http://feeds.feedburner.com/justatasteofme
Ojala puedas ayudarme :)
Medusa 18 July 2010 at 11:07
Oops! aqui esa la plantilla:
{….Ignora estas llaves y puntos)…
RSS
</p….para q no aparesca solo el RRS..}
Medusa 18 July 2010 at 11:10
Miercoles, aun sigue sin salir el codigo HTML de la platilla. Como puedo hacer para mandarte el codigo para q puedas ver lo que te digo? O si puedes abrir mi blog usando el notepad quias puedas ver el codigo y te sea mas facil saber de lo que te estoy hablando.
Gracias Claudia y disculpa por el inconveniente….THX
Claudia 19 July 2010 at 17:49
@Medusa: No entiendo lo que quieres hacer. Las instrucciones de más arriba son para cambiar los íconos ya existentes o poner tus propios links en los que ya están (son sólo reemplazos de links de las imágenes de fondo). En general, no damos instrucciones para hacer grandes cambios en las plantillas (significa un gran trabajo y tiempo) sino que sólo nos limitamos a dar instrucciones de configuración, o bien para hacer cambios simples o arreglar errores. Las plantillas se publican para ser usadas “as is” (así como están), y todos los cambios dependen de los mismos usuarios. Si quieres aprender HTML y CSS, podrías revisar los libros de librosweb.es.
Sarah 20 July 2010 at 1:50
How do you get the ‘Recent Posts’ and ‘Labels’ titles in the right colum as per your preview?
Claudia 23 July 2010 at 21:10
@Sarah: You can find the answer to your questions and more in our FAQ section.
Holly 27 July 2010 at 12:11
The date does not show. How do I fix?
danang 8 August 2010 at 9:13
Hi Claudia. Can you tell me please how do I make Read More on my post? I can’t find the code.
Thank u so much…
Kurko76 23 September 2010 at 3:33
hola, tengo un problema con este template.
Cuando hago un post a mi blog, en donde se supone que tiene que salir la fecha me sale la etiqueta “undefined”.
¿que me recomiendas que haga para subsanar ese fallo?
Gracias
Claudia 24 September 2010 at 15:38
@Kurko76: Ve a Configuración/Formato y cambia el formato de la hora a “Viernes, Septiembre 24, 2010”.
mary wiggins 22 October 2010 at 13:25
Pls disregard question above – found it – it is toward the very bottom….
mary wiggins 6 November 2010 at 9:10
I cannot find where people can leave comments on the blog. How do I add this please? Thanks for your support.
soffee 2 January 2011 at 7:23
dear, i cant get the code. i did save the zip but when i open it there is no code showing.. can u please provide me the code. for my blogger. thanx!
soffee
Claudia 4 January 2011 at 1:15
@soffee You can find the answer to your questions and more in our FAQ section.
Natalia Mesquita 9 January 2011 at 11:52
how do you put my link on twitter on the symbol next to the RSS feed. ?
Kj 10 January 2011 at 7:32
Hey there,
I love the layout, but been frustrated trying to do this change. Under each post’s title, I wanted to replace the author line “Posted by Claudia” in the template, with a line of “categories”, “comments” and “share buttons” in that order.
The dream result is:
Date/ Title
Categories / Comments / Share buttons
Currently the “categories”, “comments” and “share buttons all appear only after the post entry. I’ve tried rearranging using bloggers page elements but to no avail
Any help would be welcomed ^^x much thanks~!
Claudia 10 January 2011 at 10:58
@Natalia Mesquita: To set up twitter and RSS icons with your own URLs, find this code in Design/Edit HTML:
Merili 12 February 2011 at 10:15
Hey! I really love the template, nice work!
I just have few questions:
1. How can I add the time to my posts? It doesn’t show the time the post was posted (ex 11:25) but I would like to add it. Tried to change timestamp format but it didn’t work. Maybe you can help with html code? The ideal would be:
Date (in the ring) Post title
Posted by Merili at 11:25
2. I would like to remove “Category” from the end of the post. I took away the check mark from “labels” in the configure blog posts box, but it didn’t work. Maybe it’s not the same. Again, maybe you can help me?
I hope you understood what I meant and I really hope you can help me:) Then my blog would be perfect :)
Claudia 13 February 2011 at 14:05
@Merili:
1. Go to Design/Edit HTML, click on “Expand widget templates” and find the following code:
(You may use the search box in your browser to find it easily). Now paste this code exactly under that code:
Now save changes in your template.
2. Go to Design/Edit HTML, click on “Expand widget templates” and find the following code:
Delete it and save changes.
Merili 18 February 2011 at 11:58
Perfect! Thank you so much for the directions :)
ashlee 19 March 2011 at 10:54
love this template. but everything is squished. can you help me out?
ashlee 19 March 2011 at 10:56
nevermind. I needed to move somethings around. thanks for the template!
Perikiyo 22 May 2011 at 14:22
Todavía tengo que hacer algunos ajustes, pero me encanta cómo está quedando.
Enhorabuena, la plantilla me encanta. Creo que la voy a usar durante mucho tiempo.
Muchas gracias.
Adriana 2 September 2013 at 7:20
Instalé Vector Art y me parece muy lindo el template pero tengo dos problemas:
1º No me permite mover la barra de navegación y en el blog no aparece.
2º Los botones para compartir no aparecen
Gracias.